Fetching Data
Last updated
Was this helpful?

Last updated
Was this helpful?
With the Fetch component, you're able to easily pull live data from a third party RESTful API directly into your apps in Draftbit.
🚧For security reasons, it's recommended that you use the APIs and Services method to save your API configuration when Authentication is needed.
If you don't have your own data but would like to try the feature, feel free to grab some sample data from Draftbit's service. For this example, we'll use the /users endpoint.
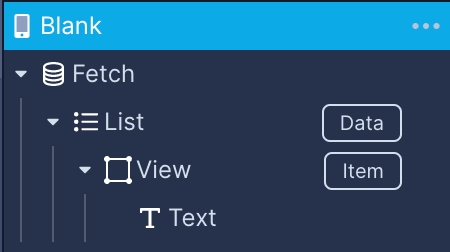
To get started, make sure your Layer Tree is set up similar to the picture below.
📘Make sure the 'Fetch Render Item' of the List is set to DataRead more about the different Fetch Render Item settings
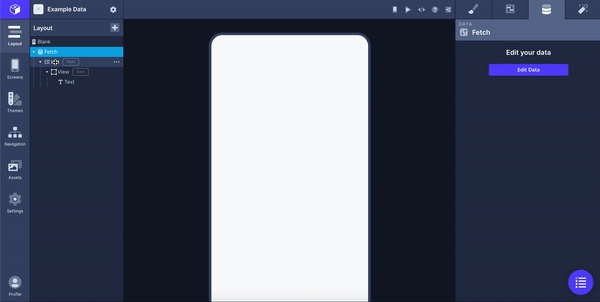
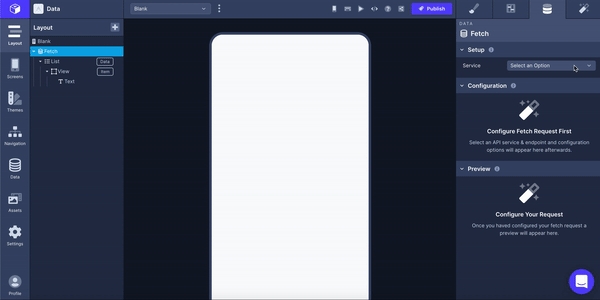
Select the Fetch component in the Layer Tree and go to the Data tab of the Properties Panel. Select a Service from the dropdown. You are also able to configure a new Service directly from the Fetch component (check the articles for more information on the configuration options). Once you've selected a Service, you can also select or create an Endpoint as well.
To pass the data to the data-enabled components inside of the List, select the List in the Layer Tree, and change its Mapped Data Value to data. Next, select the data-enabled component in the Layer Tree and change its Mapped Data Value to the property you'd like it to display.
🚧When configuring an Image component, there’s no validation built-in to ensure you’re passing an image URL to the component. If you find it not working, double check your data in the
Resultssection of the+ Build Querymodal.
🚧Working with Images in Airtable
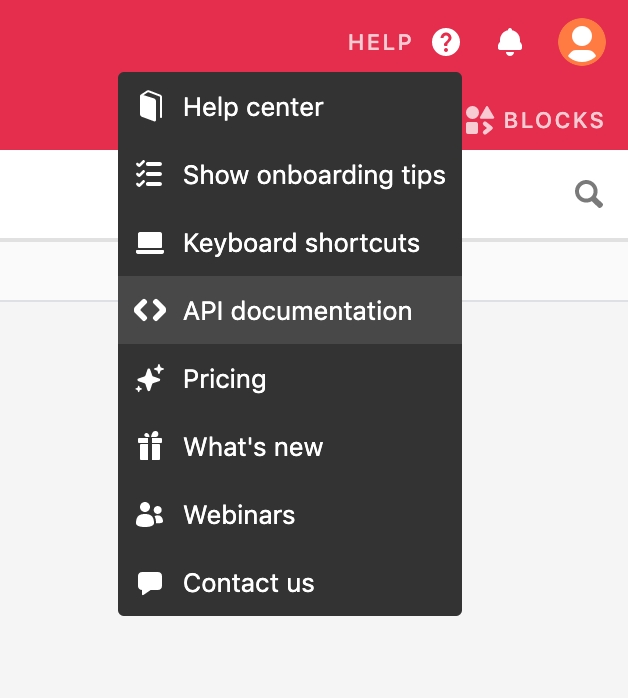
Once you’ve created a Base and entered your data, click the question mark in the top right corner and select API Documentation in the dropdown.
On the API Page for your Base, scroll down to the Authentication section. In the top right, click the show API Key checkbox so that your API Key populates the placeholder in the example URLs.
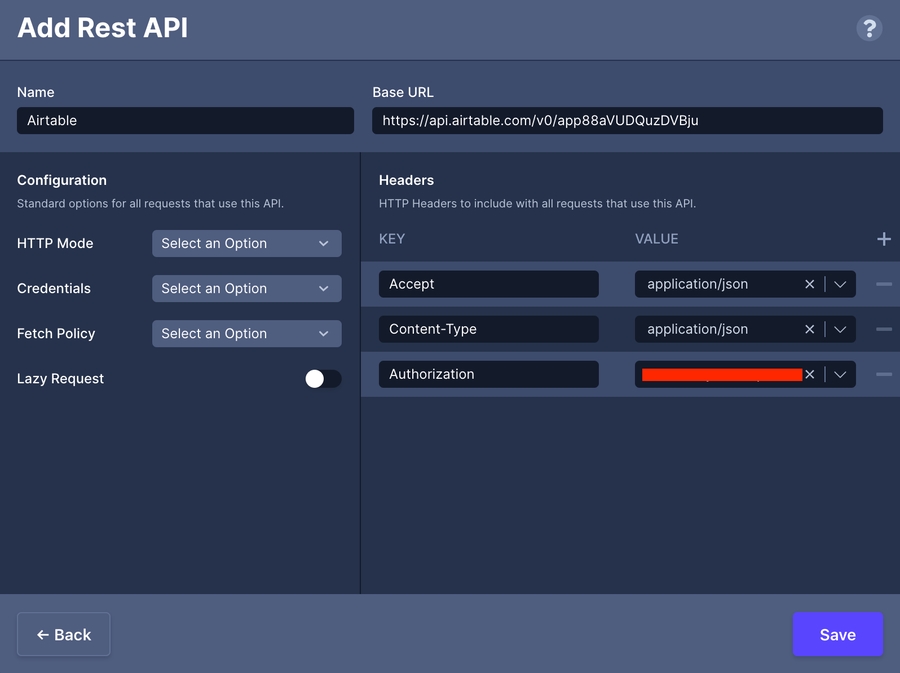
Once you’ve generated the API Key, go back to the builder, add the Fetch component to your screen (you can use the same set up as the above example) and enter your Base’s URL and the API Key under the Headers.
❗️Entering API Keys in the Headers section of the Fetch component exposes the API Key in code.Instead, it is recommended that you save your API Key under Global Variables.
Add a List component inside the Fetch component like before. While the List is selected in the Layer Tree, go to the Data tab of the Properties Panel and set the Mapped Data Value to data.records.
📘As a general note, make sure to set the top level of data as the Field for
Listcomponents.
After you've configured the List, you can pass data to Text and Image components by selecting the Mapped Data Value that corresponds to the Field (column) Names of your Airtable Base.
If you've never used Airtable before and are interested in using it as a database, check out their that will tell you everything you need to get started.
If you've uploaded your images directly into Airtable with the 'Attachments' field type, make sure to change the field type to 'Single Line Text' so the only thing in the field is the actual image URL (ex. ).
Updated about a month ago